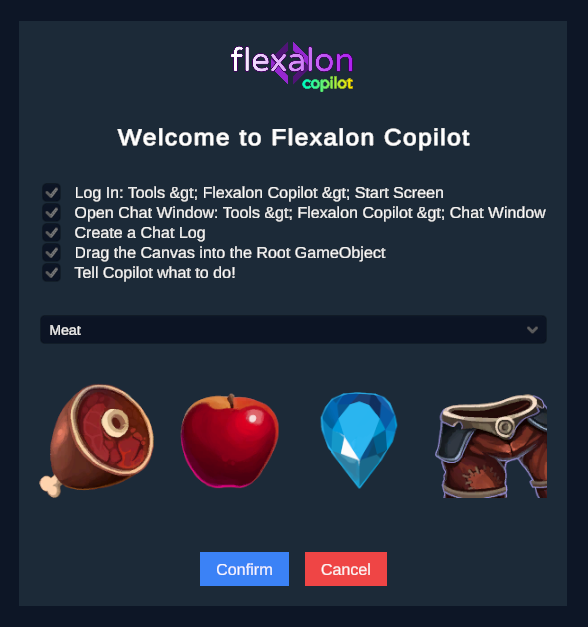
To start chatting with Flexalon Copilot, go to Tools > Flexalon Copilot > Chat Window. Dock this chat window wherever you like, and go to Window > Layouts > Save Layout to have Unity remember this layout when it restarts.
Getting Started with the Sample Scene
Open FlexalonCopilot > Samples > Scenes > GettingStarted.unity. This scene contains a Canvas with some basic UI elements to help you get started.
Now let's try a simple prompt to modify the existing scene. Try one of these:
- Add space between the images.
- Make every button green.
- Make the title bigger and orange.
Generating UI
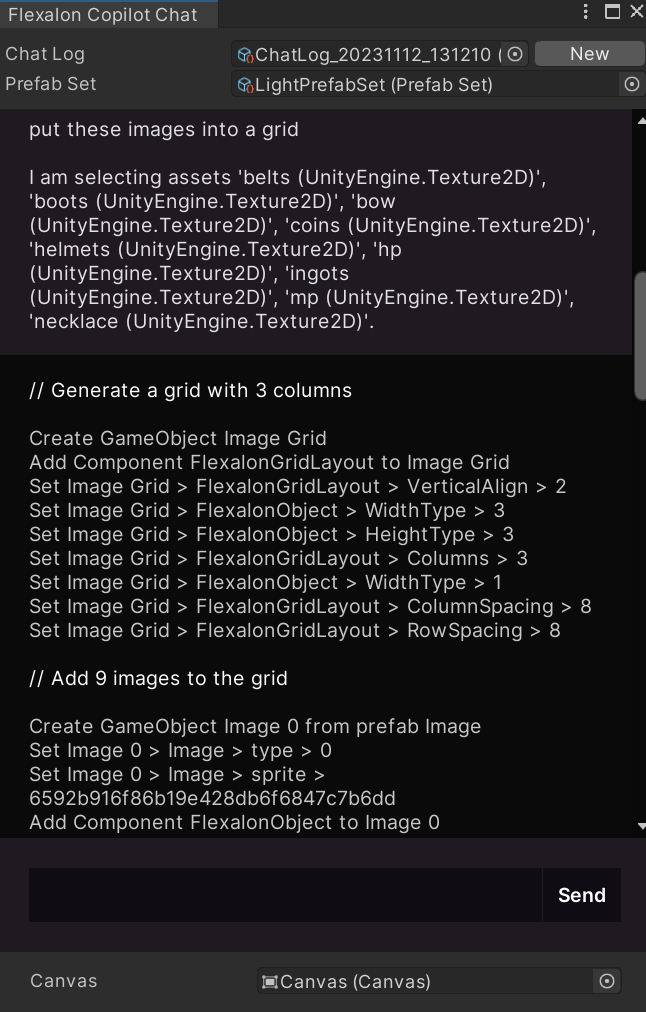
One of the most powerful features of Flexalon Copilot is its ability to generate new UI. Create a new empty Canvas, and try this prompt:
Here's what we get. If you don't like the results, you can try again.

Undo and Try again
Copilot saves all changes to the
Undo stack. If you don't like the results, click the "Retry" button, or undo the changes with Edit > Undo.
Note: due to Unity Undo limitations, the retry button will Undo all changes you've made since the last prompt.
To help you understand how Flexalon Copilot interpreted your request, the chat log will show you each modified component property in the format of GameObject > Component > Property > Value.